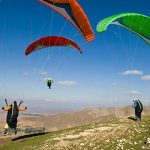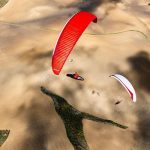
The wing (paraglider)
The paraglider's wingspan averages about 10 to 12 meters and the chord measures 2 to 3 meters. The chord is the greatest distance between the two edges of the wing. Its
surface area ranges from 20 to 30 square meters the section of the paragliding in red is
called the leading edge, it has openings which air flows into and inflating and then, during the flight, hardening the paraglider into its characteristic shape.
The rear section of the wing is called the trailing-edge. Here is where the upper and lower surfaces of the wing reconnect to form an airfoil. The extremities of the wing are called stabilizers.
The surface of the wing on top is called the upper surface, the surface of the wing on the bottom is called the lower surface. The hollow space between the upper and lower surfaces is separated into several cells by ribs, the openings we see here are used to inflate the paraglider; the circulation of air between cells is made possible by holes in the ribs.
Near the leading-edge. The fabric used for the rib is much more rigid; nylon or polyester threads are meticulously stitched to make the fabric flexible and light while at the same time extremely resistant.
The wing is connected to the harness by carabiners; these carabiners are considerably oversized and can withstand weights exceeding 2,000 kilograms. There are several different locking systems: auto-locking has seen here, twist locking or screw gate locking.
Moving up towards the wing we first come across the network of risers. Each riser, usually three or four of them depending on the paragliding model, is attached to the suspension lines which in turn are attached to the wing.
Attached to the rear riser is the braking system; the brake line is directly linked to the wings trailing edge and slides along with a pulley. At the end of each riser a triangular quick link connects a group of suspension lines. From a section of the wing moving from one rider towards its group of suspension lines you'll notice that the lines branch out twice into mids and uppers the A risers or front risers are attached to the leading edge, the B and C risers are attached to the middle and de risers also known as rear risers are connected near the wings trailing edge.
The distribution of the wing suspension points places uniform stress upon the entire wing thus giving it the correct air for shape and also helping to evenly distribute the pilot's weight throughout the wing.
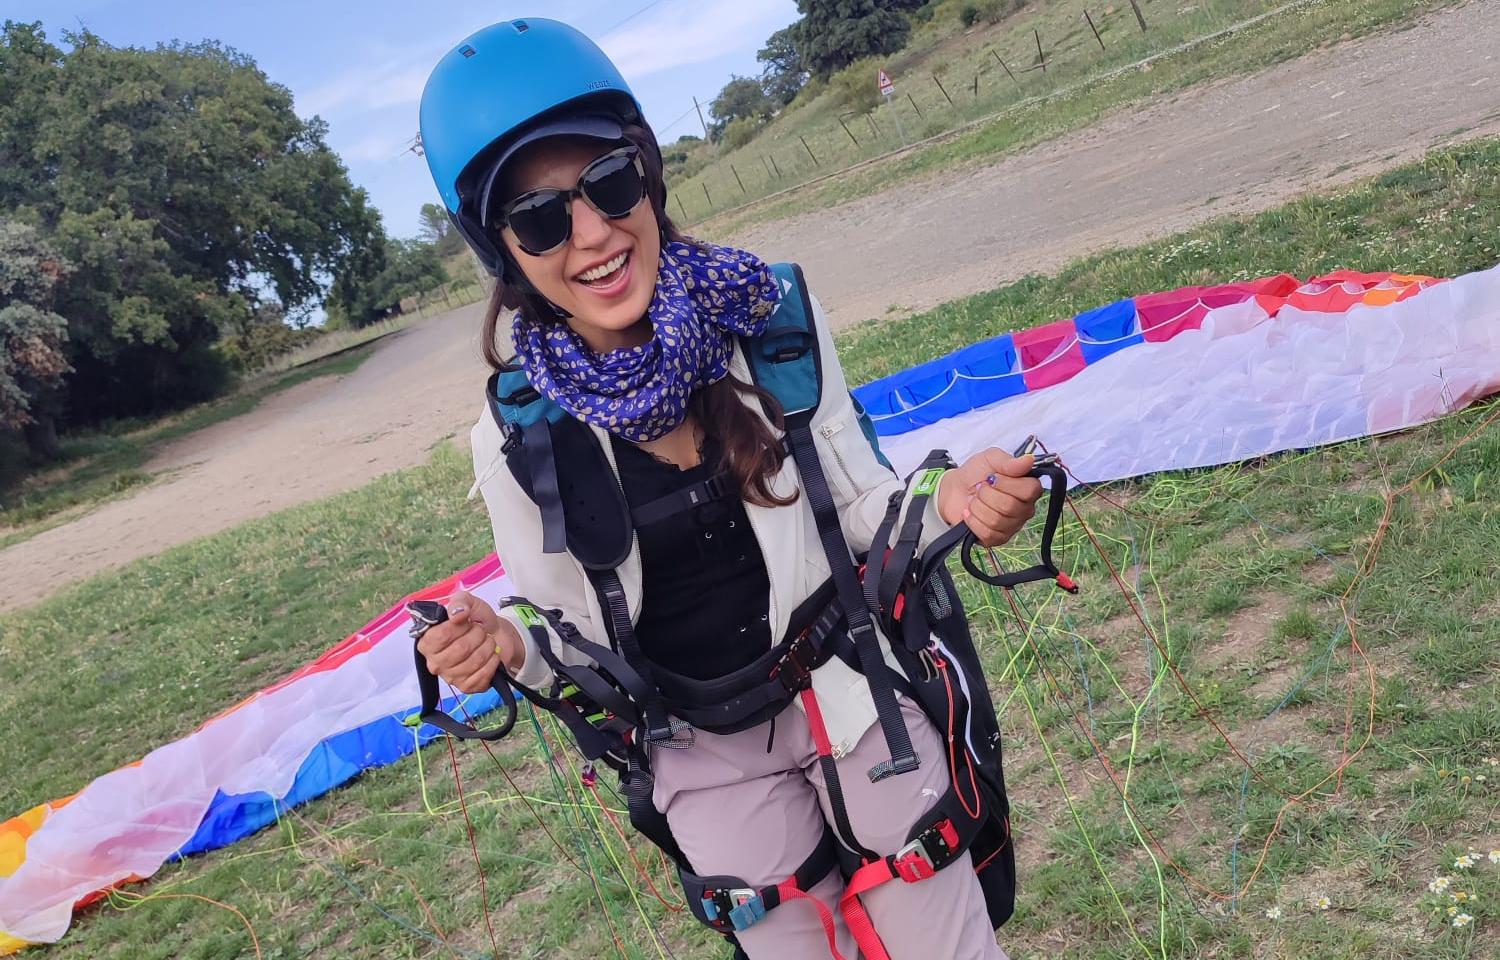
The paragliding harness
The harness is where the pilot seats. The first noticeable element of the harness is the compartment sticking out on the side known as the container; this is where the reserve parachute is located.
The reserve parachute deployment handle is located at the top of this pocket. The parachute straps leading out of the container are anchored to the harness near the shoulders using carabiners. On the back of the harness is a storage compartment: this compartment is usually used to store your paragliding sack during the flight.
Also located on the back and bottom of the harness is the bag protection. There are two main types: airbag protection and foam protection.
The pilot sits on this seat board inserted in the harness which makes it comfortable and allows the pilot to transfer hit weight to control the wing. Let's look at how the pilot is attached to the harness. The harness is attached to the pilot in three important places all three of which must be verified before every flight during the pre-flight inspection.
The leg straps which are easily fastened thanks to a quick lock buckle; being able to slide your hand through is a good indication of how tight it should be these straps need to be appropriately fastened so that the pilot is comfortable during his takeoff run a little higher is the chest strap which often has a three third locking mechanism. In the center is the safety strap which is there to remind you by its color and position to buckle up some older type harnesses do not have this instead there's a single buckle. Adjusting the chest strap is simple and by loosening it the pilot's weight can be more easily shifted during the flight
making more maneuvers possible. However when flying through turbulent air the pilot may find having a chest strap too loose or too tight it also thanks to safety above of the glider.
The shoulder straps need to be adjusted so that the bottom of the harness is level with the middle of the pilot's thighs; if the straps are too loose the pilot may encounter difficulties during the takeoff run as well as during the transition into a seated position. By tightening these straps the pilot makes sure that the harness is adjusted to his size a comfortably fitting harness is an added safety precaution it makes flying easier and prevents the pilot from being uncomfortable during his flight.
The parachute reserve
The objective here is not to teach you how to fold your reserve parachute nor how to use it which may be done at some point during ground school rather the goal is to raise your awareness about the issue and to help you visualize a parachute that is rarely seen during a paragliding training course.
It's a piece of fabric in the shape of a hemisphere with a hole in the center. It's important to understand that the reserve parachute is your last resource in case of an emergency. For that reason it's crucial that it functions properly, that's why you should ask experienced instructors to help you fold and pack your parachute learning how to do this yourself during ground school is also recommended.
The folded parachute is placed in the deployment bag once packed in the pod, it is then placed in the compartment on side of the harness called the container. As far as maintenance is concerned your parachute
should be aired out regularly; unfolding, inflating and refolding it twice a year
is recommended.
This post is a transcription of the video "Learn to Fly" (Kitchen Productions)